
My carpentry work starts at the wood pile, a jumble of discarded timber hidden behind some wild forsythia: old skids, two-by-fours, corner posts, two-by-sixes; deck walls, with planks still nailed in place, the top of a tree house, an old birdhouse screwed onto a rotted post.
Sometimes I sit and stare at the mess, thinking what can the wood make? A seesaw for my son, a new compost bin, an arbor for grapes.
I suggest everyone who has the space start their own woodpile, just begin by picking up discarded wood from the side of the road. Never pass by a two-by-four, a four-by-four or a two-by-six; with these you can build just about anything you'll need in your backyard.
Also, grab all the skids (pallets) you can. Factories dump these on the side of the road, free for the taking. You can make all sorts of birdhouses (and other cool things) from these. (An upcoming post will show how.)
Today, however, I'm building a bench or, if you like, a table.
The wood pile, though, did not inspire this project. I was in a new cafe bakery that recently opened in Easthampton, sitting at a table and admiring the table's simple structure, when I noticed just how simple it was. I can build this!
I drove home, headed back to the wood pile, and I had all the wood I needed: two two-by-sixes for the top; four two-by-fours for the sides; four four-by-fours for the the legs.
Directions
Building the structure
1. Place the two two-by-sixes side by side and decide on the length you want your table to be. Cut both pieces to the desired length. These will become the top of the table.
2. Once cut, place the top (the two-by-sixes) on a flat surface so that the top is face down. Take your two-by-fours and place one on the length side of the top of the table. Mark the proper length for each side.
3. Cut two by fours to the proper length.
4. Do the same for the width. Once finished, you'll have two two-by-fours cut for length and two cut for width. These will box in the top of the table.
3. Pre-drill some holes so you can screw the sides to the top. Screw the sides in using 3-inch long deck screws.
4. Once this is finished, you can flip over your table. You'll see that the top is cleanly framed by the two-by fours.
5. Cut the four-by-four legs. I cut them so the structure could be a table or bench. You can decide.
6. Once the legs are cut. place them in the four corners of the bottom of the table.
7. Again, pre-drill holes in the two-by-four sides and into the posts. I found I needed to place four screws (each in one corner) through the two-by-four sides and into the posts, equaling eight screws in each corner. That held legs tight.

8. Once your legs are screwed in you're done with the structure.
Stain
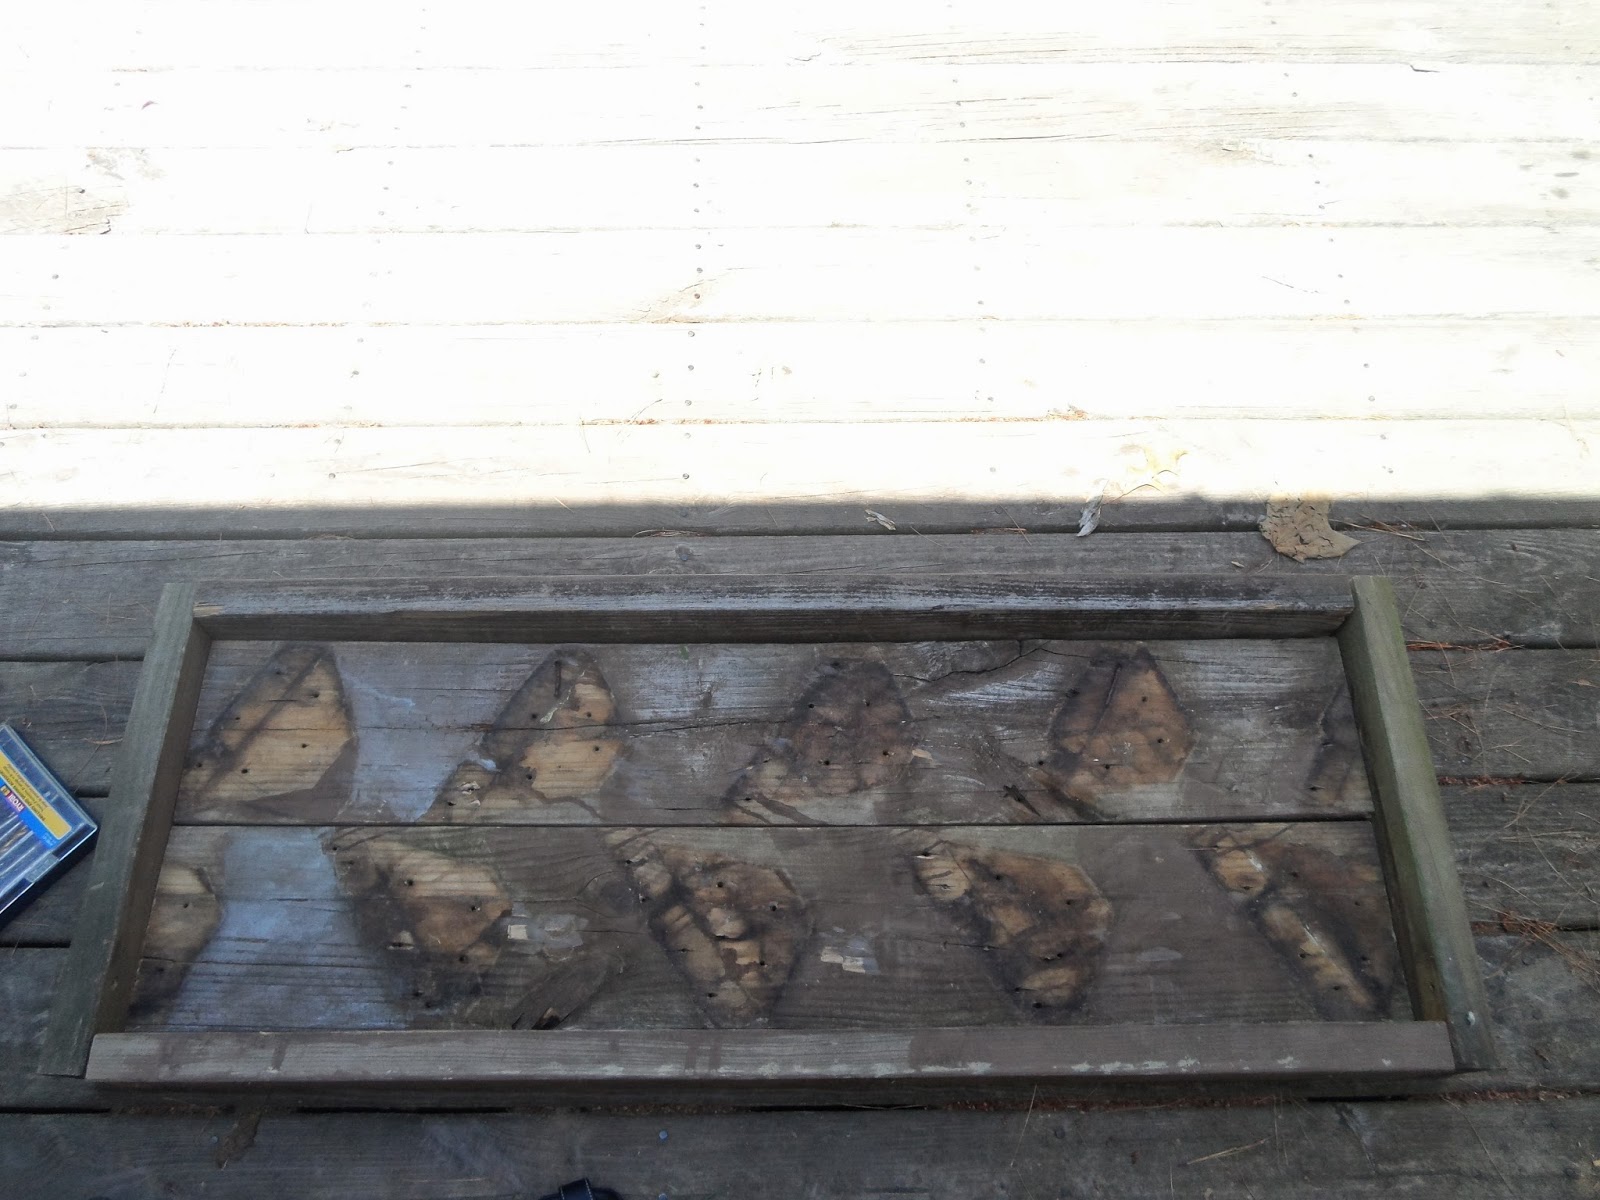
The most important part of this project (other than making sure your bench will not fall over) is selecting the proper stain. Pick a color you want. This will really finish the project. Also, buy some polyurethane; this chemical will seal the stain once it drys, keeping moisture and rot out of the wood. You will not need much, so get the smallest and most affordable containers of stain and polyurethane. Also, buy some course and fine sandpaper. 1. Sand wood. If you are like me and using old discarded wood, you will need to take some time smoothing out the imperfections. It is not too hard. I just take my time, moving slowly, and it gets done with a little effort. Have some water available to hydrate if you're working in the sun.

2. I sand with course and then fine, getting the wood really smooth. When you sand, make sure to go with the grain. For the particulars on sanding, check this out .

3. Once sanded, clean off any dust and then apply stain. You can use a rag to do this. Just rub the stain right in, again going with the grain. Let it dry for about 15 minutes, and then coat again. Keep doing this until you get the shade you want.
4. Last, place on your sealant, the polyurethane. Place one coat, let dry for a few hours, lightly sand, and then place a second coat. You can repeat this a few times. I, however, only placed one coat. When you're using wood you did not pay for, you tend to be more relaxed with these things.
And there it is, your bench (or table):

That is seriously cool! Good job. If I had a backyard that I owned (property managed) I would demand to learn how to do this.
ReplyDeleteNext school year, let's build one! I'm sure we can work some sort of writing around it for our students.
DeleteI love this table/bench. I wonder how it would be to build a large one, for like a dining ro or kitchen?
ReplyDeleteSure, that would work. In fact, I stole the idea from a café that had it set up for a community table. You'd most likely want horizontal supports between the legs, but that's about it.
ReplyDelete