
Showing posts with label woodwork. Show all posts
Showing posts with label woodwork. Show all posts
Sunday, April 26, 2015
Monday, July 28, 2014
Trials and Tribulations of Building a Bookshelf, Told Through Pictures
Lisa and I were in desperate need for a place to store books
…

... and more books

… and toys.
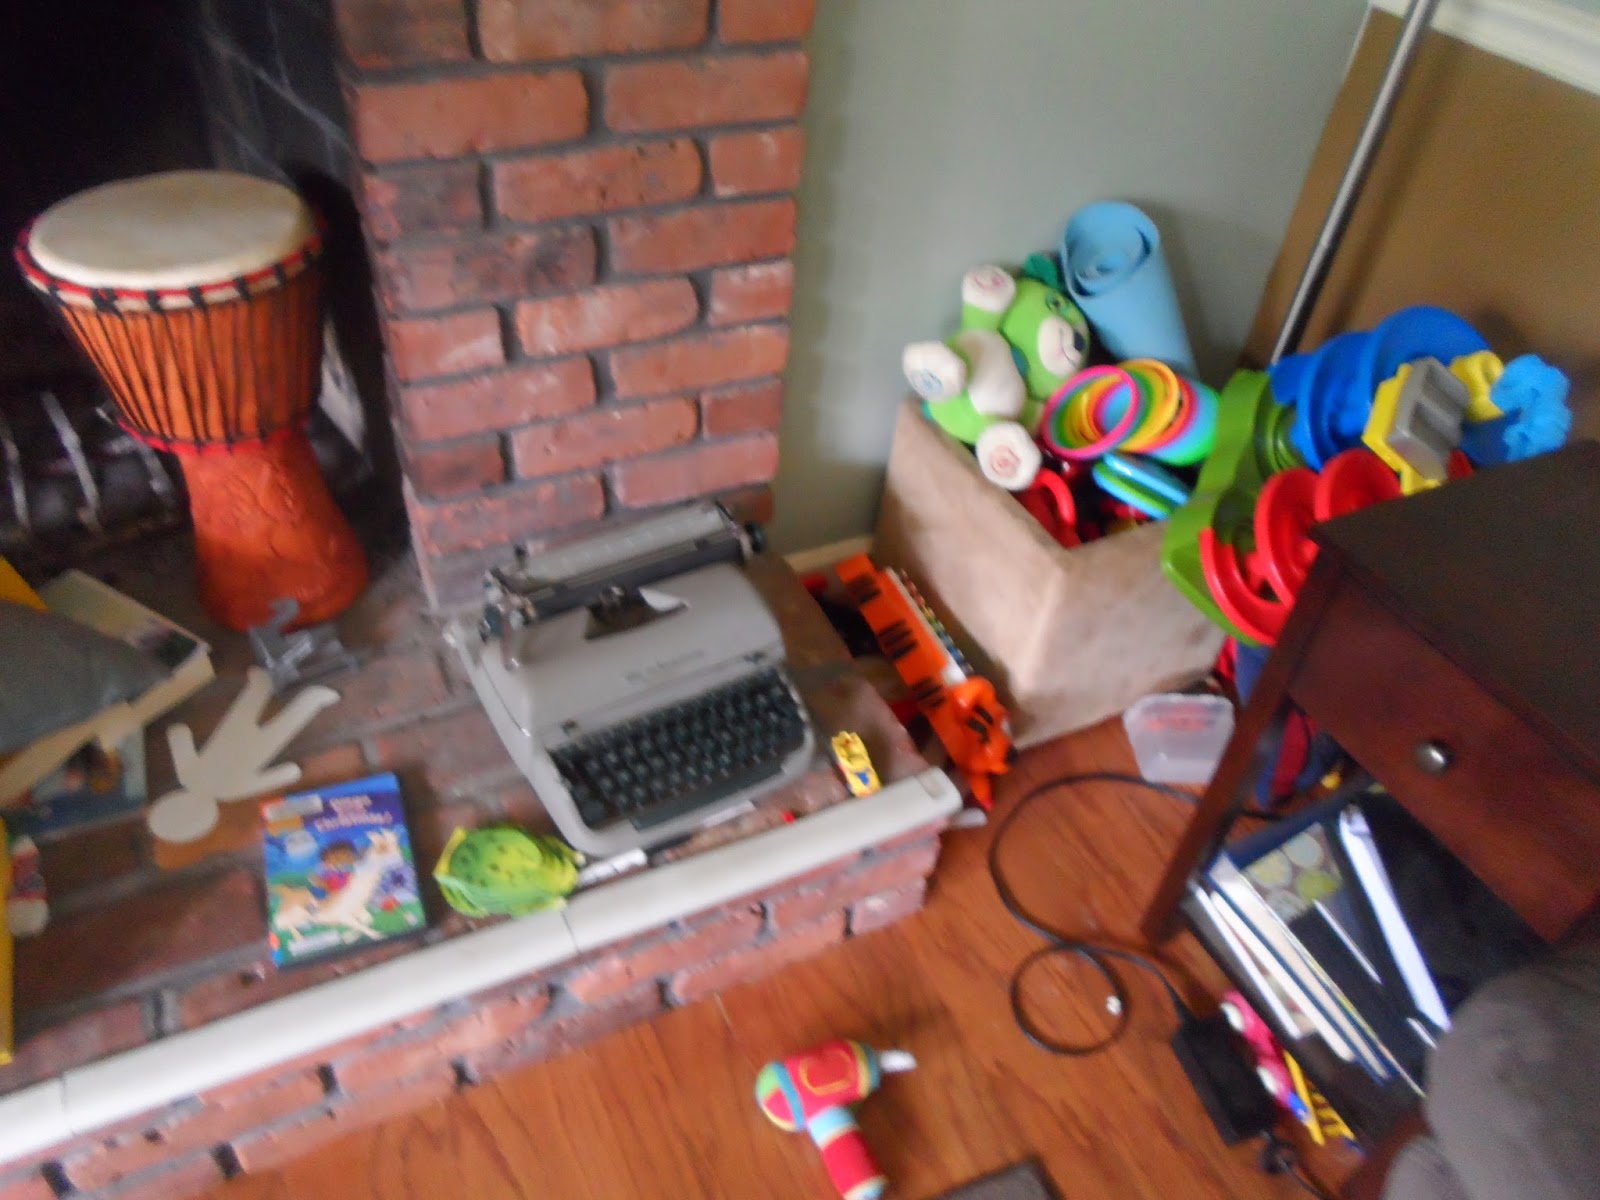
So I began work on a bookcase with a toy bin, and started by cutting the shelves.

But I was soon stumped. I had wanted to make dado joints,

but I had to create a
guide for the router. The guide keeps the router on track and from running amok. I searched YouTube for help, but most videos suggested
using several vices and I only had one.

I tried a "traditional" method


but the stones did not work

I cursed and then whispered: "I can't. I just can’t do
it." This is the moment of crisis: When you realize that your ambition is greater than your knowledge and skills. As an aspiring writer, this happens to me all the time and it hurts.
I went inside and returned to YouTube to glean some knowledge and skills, but found nothing.
Then, I had an idea. (I love ideas.) I walked back outside,
feeling inspired by a plan.
I grabbed a piece of plywood that was longer than the width
of the two sides where I needed to cut the dado joints, and I screwed the plywood
over the sides and into the table underneath, securing down the sides and creating a router guide.


And it worked. Riddle solved; knowledge and skills possessed (provided?). I cut the dado joints,

squirted wood glue in the grooves,

secured the shelves,

nailed one by four planks across the back


and the job was finished and books and toys had a new home.

Oftentimes, learning a new skill is a process of
frustration and dread and this job was no exception. If you'd like to avoid the frustration and dread part, feel free to send me a message for more detailed instructions on how to build this bookcase. I would love to share with you.
Sunday, July 27, 2014
Reader Tip: Finding a Nail in the Grass
In response to the post Projects Gone Wrong: Deck Stairs, Sandy gave a helpful tip: "Have you tried trawling with a small magnet tied to a string? That's how we retrieved old nails out of our lawn. (We had been removing nails from scrap wood we wished to save for firewood; lots of nails fell onto the lawn during that project.)"
Saturday, July 19, 2014
Projects Gone Wrong: The Deck Stairs Saga II
 |
| Everything seemed to be going as planned as I nailed the stairs together. |
I thought I was finished. I had figured out a way not to go to The Home Depot, as I had thought I was destined in my previous Projects Gone Wrong post.
To briefly recap, I had built deck stairs, but discovered upon completion that they were too steep and too shallow and because I did not have the needed wood in my woodpile, I thought I had to head to the hardware store.
But then a couple of days ago, my wife and I were making an emergency bathroom break for our three-year-old Patrick on our way to see my in-laws in Pittsfield when I noticed steps leading up to a door alongside a building.
"Box steps!" I called out to Lisa.
I often do this, calling out words connected to a conversation from hours if not days earlier.
"What?" Lisa said, looking at and around me as she walked Patrick up the stairs into the cafe with the bathroom.
"Box steps," I said, pointing at the example I had just seen. "I can build the deck stairs with box steps and I think I have the wood in the back; so I won't have to buy any."
"Oh," she said, shuffling our son Patrick inside.
I stayed there a second longer staring at the steps, imagining my upcoming project.
Box Steps, Almost Perfect
Basically, you build a box and then on the end, you lay two planks across the width on top; this becomes your lower step.
Then, you build a second box on the section without the planks, and then lay two planks on the end of that box; these become your second steps.
You keep this up until you have your desired number of steps.
I, however, failed to measure how long I should make the first box. To do this, I needed to measure the depth of each step and multiply that by three (because I had three steps); this would have given me the length of entire structure.
I often (nearly always) do this (screw up) when I build something for the first time and because I rarely build such things twice, my lessons collect dust until they are forgotten, which is about when I need to apply what I learned.
So, I had several two-by-sixes jutting out of the back of the stairs, which I needed to cut.
Sawzall!
Sawzall is the brand name for a reciprocating saw and if you do not have one, buy one. They come in really handy for awkward cuts.

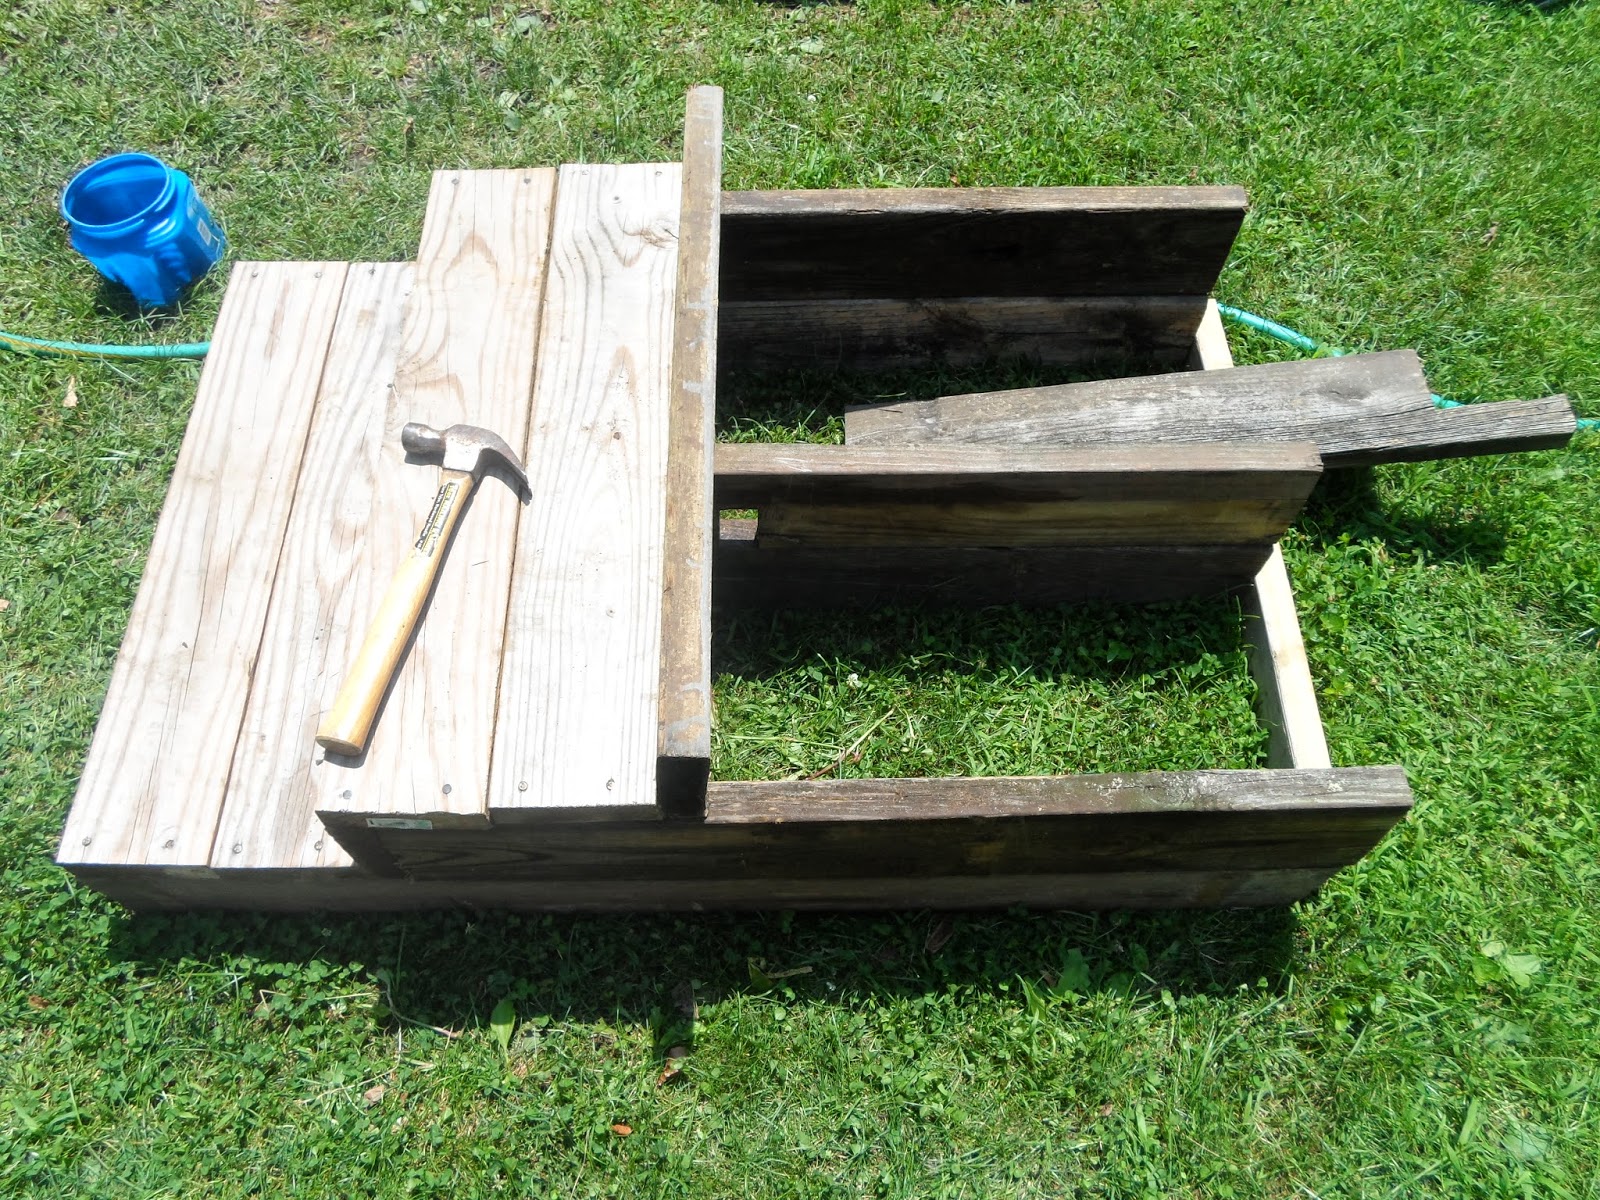
So, with three cuts ...


... the stairs were cut down to size.
I nailed three two-by-fours to the side and middle planks (see above photo) securing them in place.
Then, I nailed a two-by-four to the back and screwed the stairs to the deck.

Finishing (I believed at the time) I nailed down the top planks for the last step.

"You know what?" I said to Lisa as she sat on the deck feeding our infant Gabriel. "It's not centered."
In my haste I forgot to center the stairs in the opening on the deck. Lisa looked at me a moment.
"Eh," she said, with a shrug of the shoulders and a look of pity in her eyes. "It's not too noticeable."
"You're right," I said, ready to move on. "It's centered enough."
I stepped up the steps, testing out my creation, and then I looked down.
An empty sliver was looking back at me.

The stairs was missing a two-by-two strip of wood at the top, which I did not have in the woodpile.
"I have to go to Home Depot," I told Lisa. "I'll take the stairs out tomorrow and fill the gap in then."
"And before you put it back," said Lisa, "you can center it."
We'll see. ...
Tuesday, July 15, 2014
Projects Gone Wrong: Deck Stairs
 |
| "I kneeled and combed the grass, asking myself: Why do they not make orange nails?" |
"I should be finished before the storm," I told Lisa. "It'll be a quick project."
It wasn't and yet that was not the problem. The problem was the project itself: stairs leading from my deck to my lawn. In the end, they were too steep and too shallow.
Walking down them, I had visions of my toddler missing a step and face-planting onto the lawn. I saw my mother-in-law holding my newborn son and as they took what should have been a casual few steps onto the soft green grass, she trips and ... You get it.
I needed to tear down the steps and start again. It hurt. With slumped shoulders I sulked back into the house and accepted defeat. Tomorrow I would go to The Home Depot.
In Search of Lost Nails
The day had started bad. As I worked at prying an old nail from the deck, the nail snapped and shot into the grass. I knew time was of the essence. If you do not find a dropped nail within the first 10 seconds of dropping it, you never will. It's true.
Because my eyes had failed to track the nail's trajectory, I had no idea where it landed. My son walks this path everyday and he hates wearing shoes. The word tetanus flashed red in my brain. I needed to find the nail.
I kneeled and combed the grass with my fingers, asking myself: Why do they not make orange nails? (Do they?) When this initial slightly-panicked search failed, I stepped back, took a breath and decided to take a new approach.
I would mimic the way searches are conducted on cop shows. I set up my perimeter: five feet out and five feet across. Then I imagined a grid and began to longitudinally rake my fingertips across the ground. I scanned the invisible grid line by line, finding nothing, not even a bug or worm. Just grass. Just dirt. And a broken piece of plastic.
By now I was 10 minutes in and my eyes began to zoom out and the green grass began to swish together like in a Van Gogh painting. I forced my eyes to focus. Attend to the details. Notice the water-drop on the tip of a grass blade. Look closely.
I worked it latitudinal. And nothing.
I stood up . A bug net wrapped my head. Tiny gnats had been dive-bombing my eyeballs and, like a Venus flytrap, my lashes shut on them, one after another. After having washed a few out with my tears, I resorted to the bug-net. Sweat had soaked the screen, sticking it to my face as the gnats climbed up and down trying to get at my eyeballs. I squinted at the grass.
"Shit."
I tried looking over the whole area in one long sweep, hoping to see a flicker of silver in the green; then I could move on and start the stairs.
Nothing.
My son would have to wear shoes indefinitely.
A Stairway to Nowhere
 |
| Slightly baffled and very sweaty, I soldier on. |
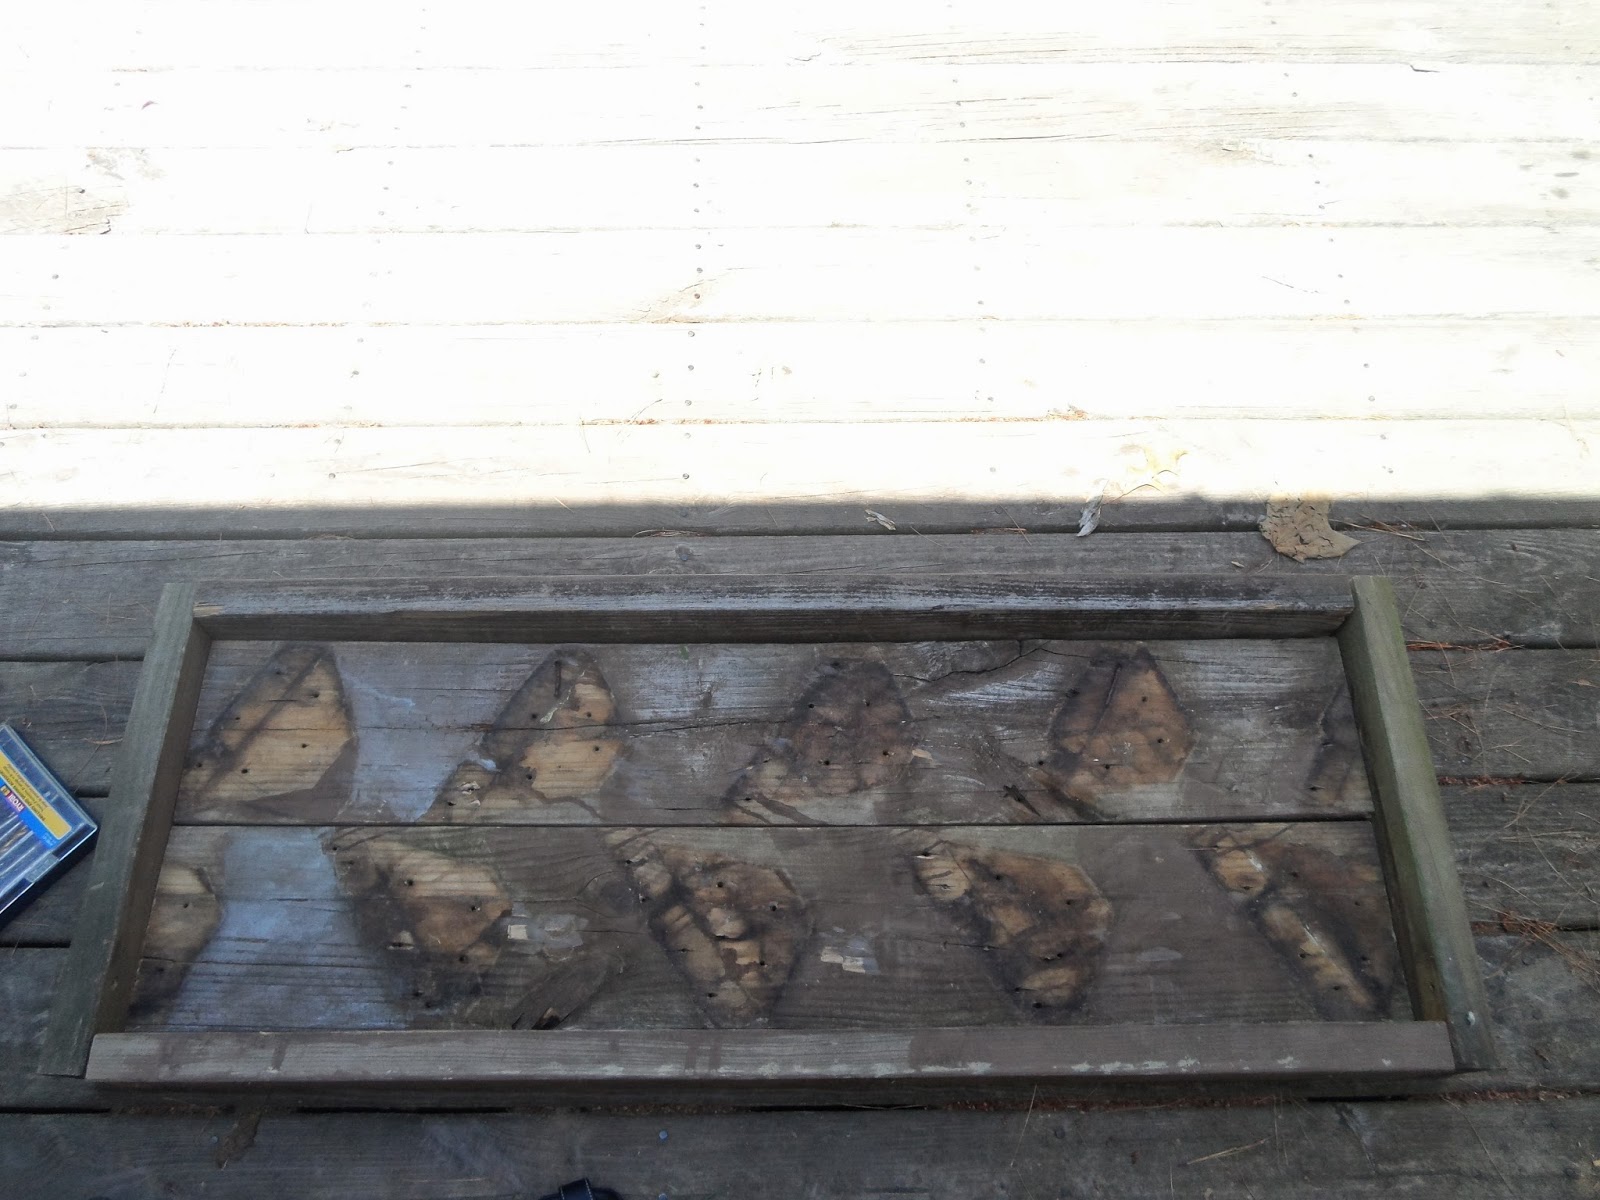
I should have known that the steps would not be deep enough. When I pulled off the old steps, I noticed whoever built it had used a wider board than I had. Yet, I didn't want to buy new wood. I had a bunch in my woodpile. I soldiered on.
And you know how the story ends.
I don't want to suffer you with some cliche lesson I learned. There's a few in there and if you know what they are, please post.
I have yet to tear down the stairs and I have not found the nail.
So it goes.
Postscript: My son--who's a toddler--took the above photo. I'm impressed.
Monday, July 14, 2014
From the Woodpile: A Rustic Bench (Or Table)

My carpentry work starts at the wood pile, a jumble of discarded timber hidden behind some wild forsythia: old skids, two-by-fours, corner posts, two-by-sixes; deck walls, with planks still nailed in place, the top of a tree house, an old birdhouse screwed onto a rotted post.
Sometimes I sit and stare at the mess, thinking what can the wood make? A seesaw for my son, a new compost bin, an arbor for grapes.
I suggest everyone who has the space start their own woodpile, just begin by picking up discarded wood from the side of the road. Never pass by a two-by-four, a four-by-four or a two-by-six; with these you can build just about anything you'll need in your backyard.
Also, grab all the skids (pallets) you can. Factories dump these on the side of the road, free for the taking. You can make all sorts of birdhouses (and other cool things) from these. (An upcoming post will show how.)
Today, however, I'm building a bench or, if you like, a table.
The wood pile, though, did not inspire this project. I was in a new cafe bakery that recently opened in Easthampton, sitting at a table and admiring the table's simple structure, when I noticed just how simple it was. I can build this!
I drove home, headed back to the wood pile, and I had all the wood I needed: two two-by-sixes for the top; four two-by-fours for the sides; four four-by-fours for the the legs.
Directions
Building the structure
1. Place the two two-by-sixes side by side and decide on the length you want your table to be. Cut both pieces to the desired length. These will become the top of the table.
2. Once cut, place the top (the two-by-sixes) on a flat surface so that the top is face down. Take your two-by-fours and place one on the length side of the top of the table. Mark the proper length for each side.
3. Cut two by fours to the proper length.
4. Do the same for the width. Once finished, you'll have two two-by-fours cut for length and two cut for width. These will box in the top of the table.
3. Pre-drill some holes so you can screw the sides to the top. Screw the sides in using 3-inch long deck screws.
4. Once this is finished, you can flip over your table. You'll see that the top is cleanly framed by the two-by fours.
5. Cut the four-by-four legs. I cut them so the structure could be a table or bench. You can decide.
6. Once the legs are cut. place them in the four corners of the bottom of the table.
7. Again, pre-drill holes in the two-by-four sides and into the posts. I found I needed to place four screws (each in one corner) through the two-by-four sides and into the posts, equaling eight screws in each corner. That held legs tight.

8. Once your legs are screwed in you're done with the structure.
Stain
The most important part of this project (other than making sure your bench will not fall over) is selecting the proper stain. Pick a color you want. This will really finish the project. Also, buy some polyurethane; this chemical will seal the stain once it drys, keeping moisture and rot out of the wood. You will not need much, so get the smallest and most affordable containers of stain and polyurethane. Also, buy some course and fine sandpaper. 1. Sand wood. If you are like me and using old discarded wood, you will need to take some time smoothing out the imperfections. It is not too hard. I just take my time, moving slowly, and it gets done with a little effort. Have some water available to hydrate if you're working in the sun.

2. I sand with course and then fine, getting the wood really smooth. When you sand, make sure to go with the grain. For the particulars on sanding, check this out .

3. Once sanded, clean off any dust and then apply stain. You can use a rag to do this. Just rub the stain right in, again going with the grain. Let it dry for about 15 minutes, and then coat again. Keep doing this until you get the shade you want.
4. Last, place on your sealant, the polyurethane. Place one coat, let dry for a few hours, lightly sand, and then place a second coat. You can repeat this a few times. I, however, only placed one coat. When you're using wood you did not pay for, you tend to be more relaxed with these things.
And there it is, your bench (or table):

Subscribe to:
Posts (Atom)